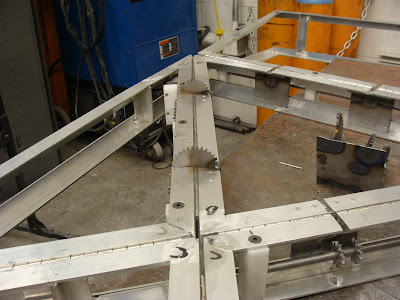
In order to make Simon move, Eric and I had to make sure that the drive system we (mostly him, I'm terrible at these things, I think I was more company than helpful) designed actually worked.
After the gears were water jetted and welded to the brackets, or put onto the driveshaft, we realized something terrible had happened.
None of the gears meshed
You can clearly see how far apart the gears are. As it turns out, regardless of how perfect your digital simulation/design is, the physical manifestation of your system will not be perfect, especially when a majority of the dimensions are determined by the human factor constructing it.
So we have to start over. The gears were re-cut, this time excluding the tabs Eric had designed to help keep the gears securely in the steel brackets (there was no way we were going to try to weld steel to aluminum).

Once the gears were re-cut, we started preparing the frame for installation and manipulation of the gearing.
After hours and hours of reseating, grinding, fidgeting, and more grinding, we got each of the gears to mesh.

Then we welded everything in place, and by we, I mean Eric. I learned how to MIG (Mig?) weld, but, as you can tell, my welding still needs a lot of practice.

I did have some good seams though! if you look closely you can see the two thin steel sheets look pretty nice in a few areas, and one of the four scrap gears I welded onto the thin sheets has four lovely welds, clean seams, basically everything this picture isn't.

We put that system in.

We welded that.

We made that motor flip that arm
We made Simon go, because we are rockstars


Totally Rockstars haha! I think you need to amend one part....
ReplyDeleteYou basically had to be the brains behind the gear fidgeting because I was completely delerious and kept grinding things backwards-